Tuesday, October 29, 2013

Jabsco raw water pump servicing

The existing pump was badly leaking sea water.  The oil pan had been repaired recently (9/2013) to address corrosion that was probably caused by this leak.  Seeing this as untenable, I decided to service the pump.

Pump Removal
  • Tools: 1/2" socket for bolt in slot, 5/8" socket for pivot bolt, plus box wrenches for backers, screw driver for hose clamps, multiple lights.
  • Loosened hose clamps and removed hoses to gain better access.
  • Bolts attaching the pump to the bracket couldn't be influenced in the tiny space, so I removed the bracket with the pump instead.
  • The belt can't be slipped off of the pump until the bolts are completely removed so the pump can be rotated.
Pump Servicing
  • It appears that the pump doesn't line up with the OEM bracket so an offset bracket had been created.  It appears to have been corroded in place, hence it couldn't easily be separated from the pump or bracket.  Since no replacement exists and removal would be destructive, it was decided to leave it in place.  It will be cleaned up as best as possible and painted.
  • The hose elbows show signs of deterioration and need to be replaced.  One side attached to the 1-1/4"OD pump and the other to the xxx OD pipe.  Unable to source locally.
  • Pump body says "Jabsco" while the cover says Johnson.  Existing impeller is a Jabsco xxxxx-xxx.  In and outs are 3/4" and oppose each other.  They have a "bead insert" screwed into them.  Shaft is 1/2" OD.
  • Removed the cover.  The impeller is missing a chunk and the gasket was nearly non-existent.  (Broker told me that the cover had been removed and an inspection showed no issues.)
  • Wire brushed everything.
  • Couldn't loosen pulley set screw even after soaking with WD-40.  Local mechaic was able to remove it with some heat.
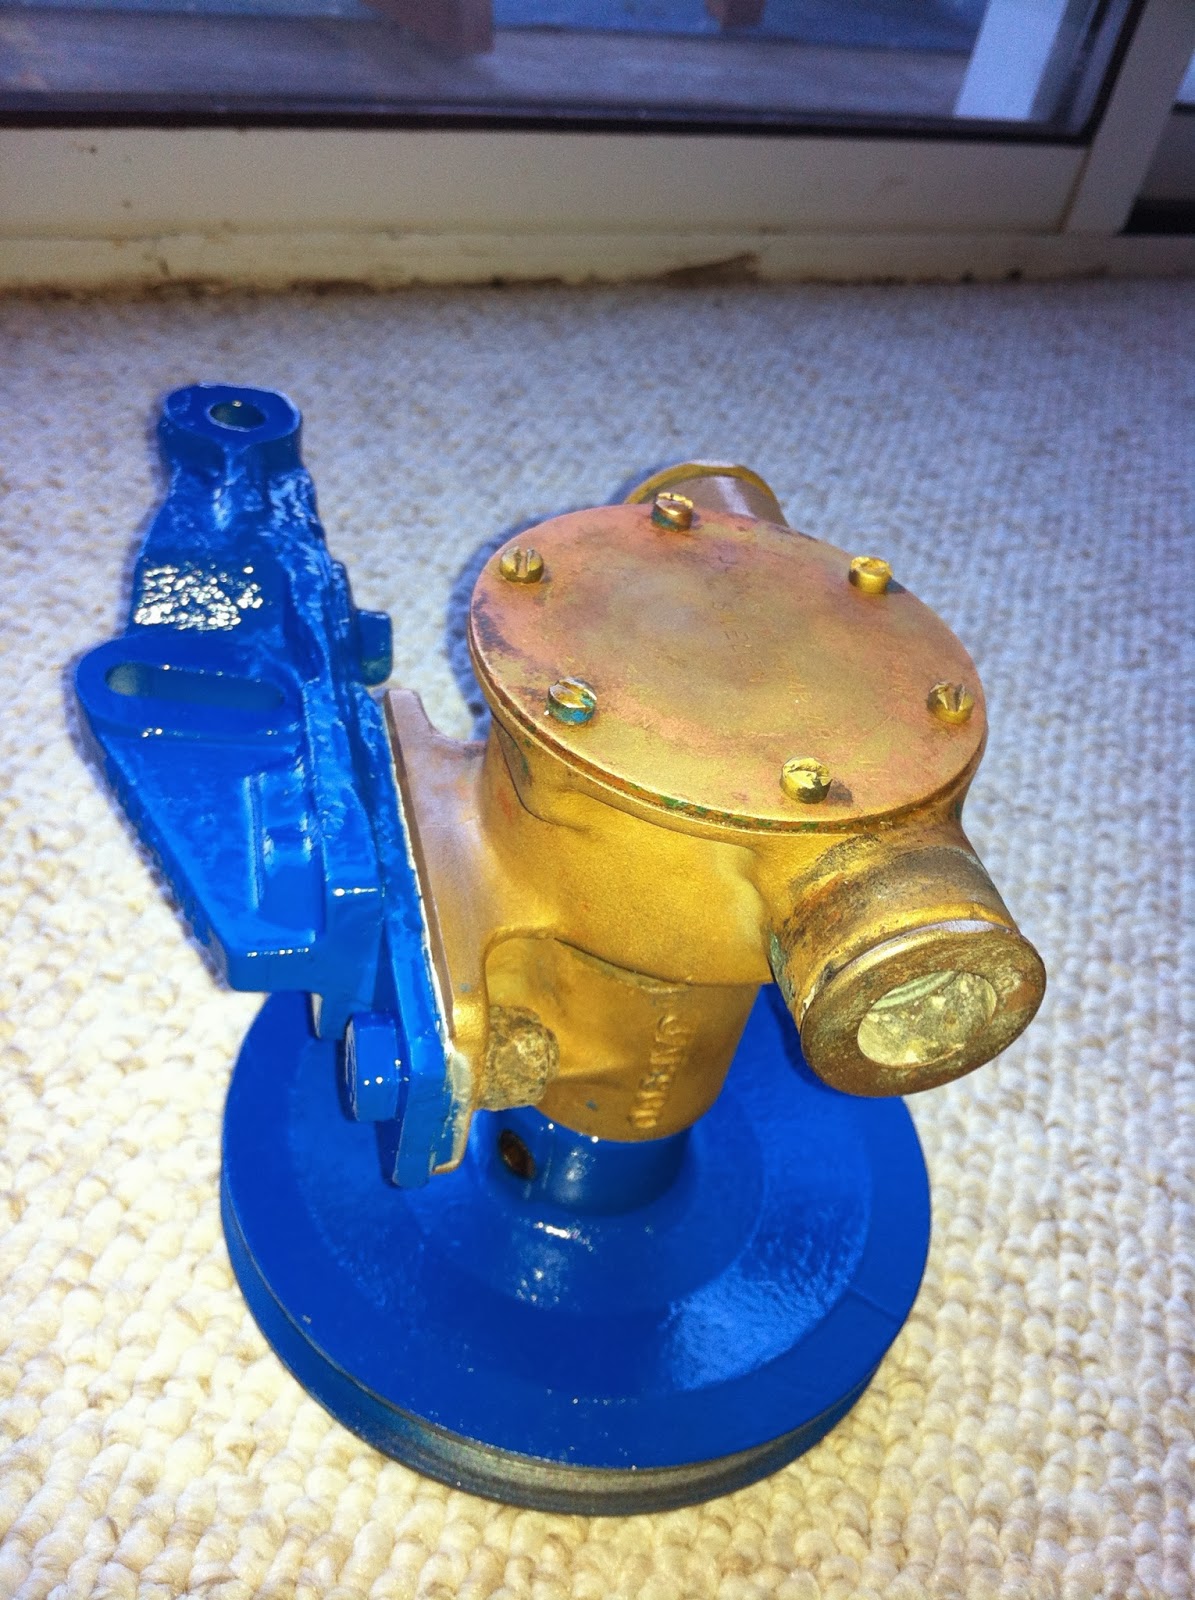
  • Tom Gunther (Gunther Marine Engines) took pump apart and replaced impeller, one seal, screws and gasket with the spares I provided.  He sandblasted body and re-assembled.  ($85).
  • The pump looked great, so I left it unpainted and just painted the bracket.  Used multiple coats of engine primer paint and then multiple coats of Lt Ford Blue engine paint.


Pump Re-installation


Followup

This is close, but not exact.  For one thing, my pump has only 2 mounting screws not 4.


Alternator replacement

[Incomplete 10-29-2013]

The original alternator wasn't charging, so I replaced it with a new "spare" that came with the boat.  Except for the word "Lucas", neither alternator had any significant markings to indicate model or connections, so I had to figure it out.

Alternators

The original alternator was connected by four wires as follows:

  • To the batteries isolation diodes to charge the two battery banks. B+? (Brown)
  • From the charge light on the control panel to energize the field coils (using the "start" battery).  F?
  • From the house battery through a relay controlled by the key switch.  This is probably to sense the charge voltage.  S?
  • To the tachometer. W? (Blue/Black)
The new alternator had two connections, presumably B+ and F.

I'm unsure of that capacity of either alternator.

Modifications
  • Using the original alternator as a guide, I soldered a short blue wire to one of the stater coils for a tachometer feed and then reinforced it with heat shrink tubing where it feeds through the cover.  I crimped a female bullet connector to the other end.
  • There is no place for a"sense" connection, so I taped up the existing wire and left it hanging for now. It leads to a relay.  (Later I plan to remove the extra wiring and relay completely.)
  • I painted the pulley with two coats of "Ford Blue" Rust-o-leum Engine paint.  (It turns out that my engine has Chrysler blue paint.  I like the Ford color better and the Chrysler paint job is crappy, so I decided to stick with the Ford color.  It will also help show where I've repainted.)
Technique

Wrenches used:

Results
  • Puts out 14.1 VDC charging voltage
  • Tach still didn't work.  It's probably the tach, but I need to check voltages.  Not sure what to expect here